Prerequisites

Here is what you need to get started paying with GNU Taler:

Select a platform to view instructions for

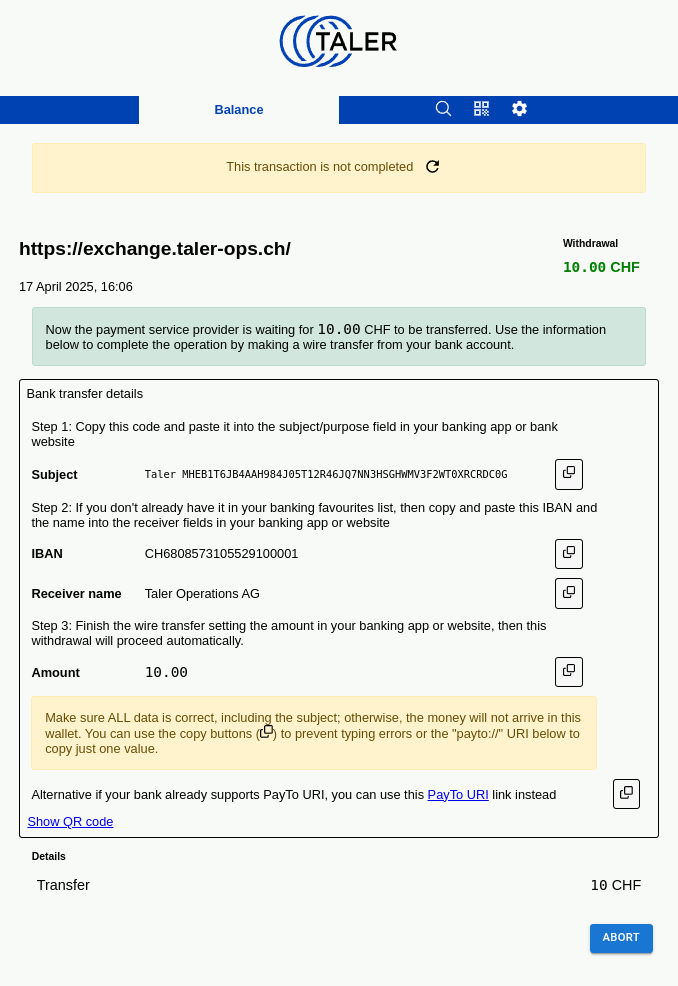
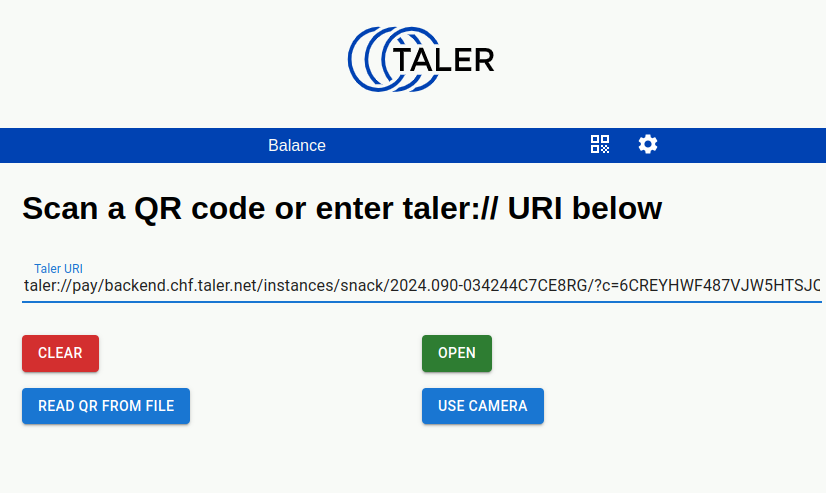
Step #1: Add provider

As a first-time user, you need to add Taler Operations as a payment service provider. The easiest way to do so is to scan this QR code or click it to open the link. This will also initiate the withdrawal process. First-time users will have to accept the terms of service.

Step #2: Accept terms

Please read the terms of service and accept them.

You only need to do this before the first use or when the terms of service have been updated.

Wallet showing the terms of service

Alternative: Select withdraw action

If you have already added a payment service provider, you can withdraw digital cash by clicking the RECEIVE button in the wallet's action menu.

The Taler web extension menu

Step #3: Enter amount

Enter the desired amount to be withdrawn.

Afterwards, select WITHDRAW at "From another bank account".

Wallet requesting amount to withdraw

Step #4: Wire transfer

The wallet will give you various ways to access the wire transfer subject, target account and amount to transfer. You may copy the details over manually into your online banking application, use a QR code (if supported by your bank) or be offered other ways to initiate the wire transfer.

When you wire the funds to the payment service provider, it is critical that you use the correct wire transfer subject.

Wallet showing wire transfer instructions

Step #5: Wait!

Depending on your bank, the wire transfer may take a few days. You do not need to keep the Taler wallet app open.

Wallet showing pending withdrawal status

Step #6: Done!

The Taler wallet will automatically receive the digital cash once your wire transfer has arrived at the payment service provider.

Wallet showing withdrawal status

Step #7: Shop

When shopping, the wallet may be launched automatically or you may need to click a link or scan a QR code.

When shopping, the wallet may be launched automatically or you may need to click a link, scan a QR code or even select the wallet extension manually depending on the context.

Wallet requesting taler://-URI

Step #8: Pay

The wallet will show you details about what you are buying, including the price and applicable fees.

Simply press "Pay" to make the payment.

Wallet requesting payment confirmation

Step #9: Manage

The wallet keeps track of your transaction history.

You can delete transactions, thus erasing any trace that you were the buyer.

Wallet showing receipt